How to Build a Pergola: A Step-by-Step Guide
Building a pergola can turn your backyard into a great outdoor space. A DIY pergola can save you up to 50% compared to hiring a pro. Viking Fence’s kits cost between $1,500 to $2,500, and their team has over 300 years of experience.
Even beginners can do it. Most DIY pergolas take about two days. One day for prep and assembly, and the next for finishing.
Popular materials like cedar and redwood make your pergola last long. Make sure to dig four post holes at least 2 feet deep for stability.
- A DIY pergola can boost home value by 10-15% while cutting costs by half.
- Viking Fence’s kits minimize waste and include materials like pressure-treated pine, which needs 2-3 months to dry before finishing.
- Basic projects take 4-6 hours of labor, but larger pergolas may require 2-3 helpers.
- Proper footings with 12-inch diameter holes and overnight curing concrete ensure long-term stability.
- Modern designs like the 10×10-foot average size or the “Big Kahuna” (11×13 feet) offer flexibility for any backyard.
Introduction to Pergolas
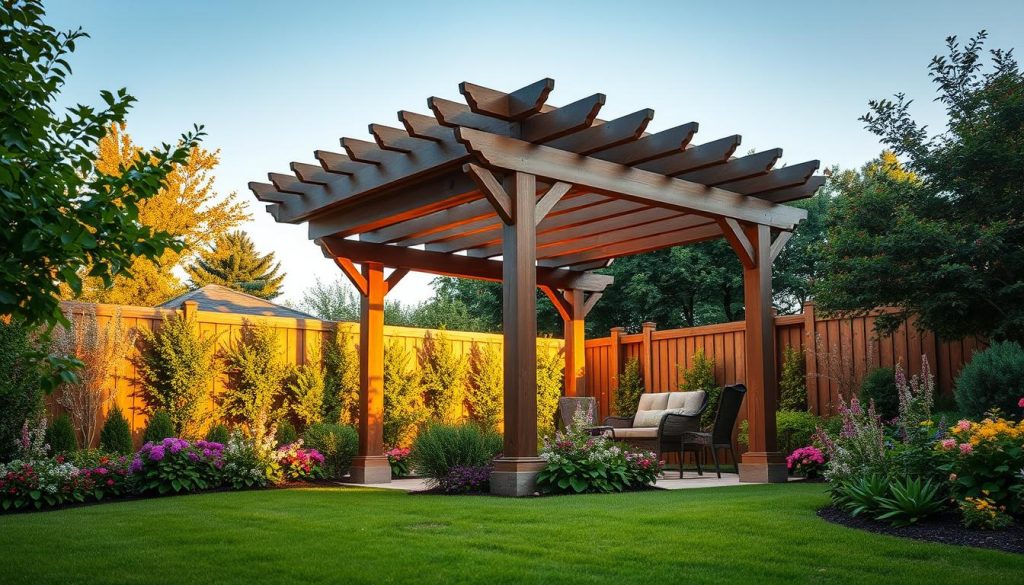
Pergolas are open-air frameworks that make outdoor spaces better. They use vertical posts and horizontal beams to create shaded, airy shelters. These outdoor living structures add style and provide practical shade for gardens, patios, or walkways.
A modern pergola has ancient roots, coming from Late Latin’s “pergula” (projecting eave). Even Leonardo da Vinci used them in his 15th-century designs. Now, they are both garden accents and functional spaces for dining or relaxation.
Pergolas boost property value, extend living areas, and control natural light. They define outdoor zones and let sunlight filter through their open lattice. Homeowners also like low maintenance options like vinyl or aluminum, which resist weather better than untreated wood.
Popular materials for modern pergola construction vary. Cedar and redwood naturally resist rot, while vinyl offers color consistency. Metal and CPVC are durable in coastal climates. Optional copper caps or motorized roofs add a modern touch, blending tradition with innovation.
Planning Your Pergola Project
Starting a backyard design project needs careful planning. First, look at your yard’s layout and what you want to use it for. A well-placed pergola can make your outdoor space better and fit your lifestyle. Here’s how to begin:

Choosing the Right Location
Choose a spot for your pergola where it will do well. Face it east or south for sun in the morning or shade all year. Make sure it’s not in a low spot where water might collect.
Check for trees or utilities nearby. Call 811 to mark underground lines before you start digging. Think about how close it should be to seating or patios to use it best.
Designing Your Pergola: Size and Style
The size of your pergola is important. A 10×8-foot one is good for small yards. Larger yards might need something like the 14×16 Floating Deck design by Jen Woodhouse.
Look at free pergola plans like the 10×12 model supported by Simpson Strong-Tie®. Or, pay for detailed kits from Outdoor Accents®. Choose a style that matches your home, like modern or rustic, using durable materials like cedar or redwood.
The 10×10 Backyard Pergola Plan is a good example. It offers shade and space for dining.
Understanding Local Building Codes and Permits
First, check local building codes and permits. Permits can cost $25–$500 and make sure you follow rules on height and distance. Many DIY kits, like the 17×25 Meadow Premier Pergola, are designed to meet these codes.
Use 6×6 posts for stability if you’re attaching it to a house or adding heavy things. If your pergola is under 200 sq. ft., you might not need a permit. But always check with local authorities.
Materials Needed for Your Pergola
Choosing the right materials is key for a strong garden pergola. Pergola kits make it easier, but custom builds need specific parts. Let’s look at options for your style and budget.
Wood vs. Vinyl vs. Metal: What to Choose?
Wood adds warmth but needs sealing every 2–3 years. Cedar lasts 10–12 years with proper care. Pressure-treated pine is cheaper but less durable.
Vinyl doesn’t decay but can’t be painted. Metal, like aluminum, lasts long but costs more upfront.
Essential Tools for Building a Pergola
You’ll need a drill, circular saw, and tape measure. A level is crucial for post alignment. A hammer helps with assembly.
For concrete footings, a post hole digger and wheelbarrow are essential. You might rent a concrete mixer for big projects.
Optional Accessories for Your Pergola
Add solar lights for evening beauty or retractable canopies for shade. Trellis netting supports plants, and decorative brackets enhance style. In coastal areas, use wind-resistant hardware.
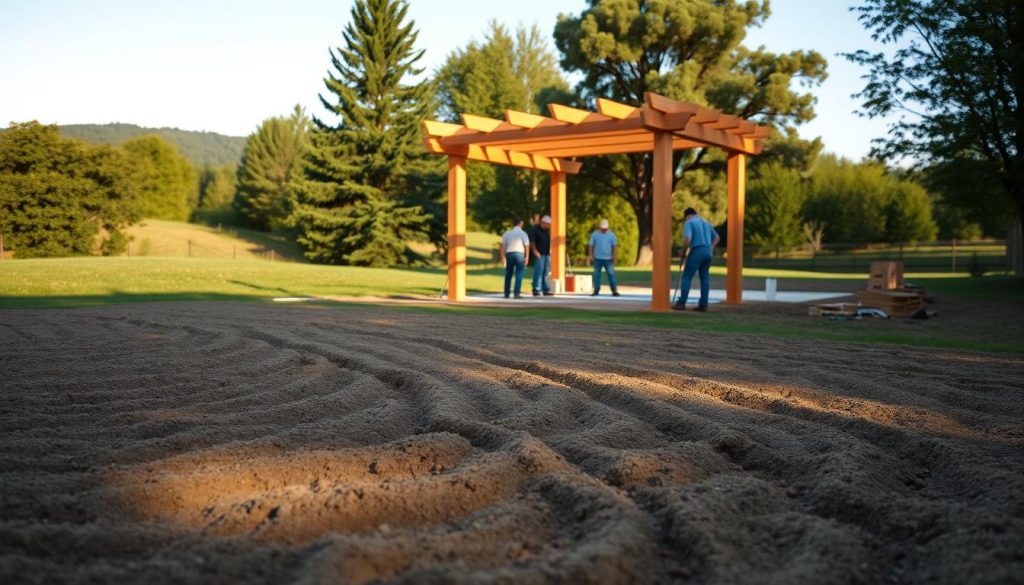
Preparing Your Site
Before starting, getting your site ready is key for a strong patio cover or pergola. A bad start can lead to problems later. Here’s how to make sure your project lasts:
Clearing the Area for Construction
- Remove all vegetation, rocks, and debris from the site.
- Call 811 to mark underground utilities before digging.
- Check HOA guidelines to avoid code violations.
Marking the Layout of Your Pergola
Use stakes and string to mark out your pergola’s shape. For instance, a 16×16-foot design needs exact angles.  A laser level helps make sure corners are square. Backyard Discovery’s Hawthorne Pergola designs come with pre-measured templates for easy setup.
Ensuring Proper Drainage and Ground Stability
- Grade the ground to slope 2% away from the structure to prevent water pooling.
- Compact soil with a plate compactor to avoid settling.
- Test soil stability by digging 12-inch test holes; soft soil may need gravel reinforcement.
Backyard Discovery’s 2” galvanized steel anchors keep posts steady in shaky ground. Good prep means avoiding expensive fixes later!
Building the Pergola Foundation
A strong foundation is key for a stable pergola. Pergolas need solid footings to withstand wind, weight, and weather. First, check the soil and frost lines to pick the best foundation.
Types of Foundations for Pergolas
- Concrete footings: Great for heavy pergolas or areas with strong winds. Dig holes 12–24 inches wide, 48 inches deep in cold areas, to prevent settling.
- Post bases: Good for light pergolas on existing concrete. But, avoid soils like clay or fill unless you add reinforcement.
Step-by-Step Concrete Footing Guide
- Start by digging holes to the frost line depth. A mini excavator is handy for small spaces.
- Next, pour in reinforced concrete with rebar (40,000 PSI tensile strength). Wait 28 days for it to fully cure.
- For quicker setup, use the Deck Foot Anchor. It secures posts in 30–45 minutes, much faster than traditional methods.
Securing Posts for Longevity
Use 6×6 pressure-treated posts for strength. For models like the 10x10ft (3020mm long), 850mm tall) PERGOLUX, choose post bases with 19,000 lbs load capacity. The Deck Foot Anchor saves time by avoiding concrete curing delays. Always check post alignment with a level before setting them in place.
Constructing the Pergola Frame
Building the frame of your DIY pergola is where the structure takes shape. Following detailed pergola plans ensures every part aligns with your design. This phase focuses on assembling vertical posts, crossbeams, and lattice to create a sturdy base for your outdoor space.
Start by raising the vertical posts. Use temporary braces made from 1×4 boards to keep posts plumb while securing them. Pressure-treated 4×4 posts, set into pre-poured footings, form the main supports. Check alignment frequently to avoid leaning or uneven placement.
Next, install crossbeams across the top. Cut notches into beams where they meet the posts for interlocking joints, creating stronger connections than simple butted joints. Use lag screws rated for exterior use, tightened snugly into pre-drilled pilot holes to prevent splitting. For lattice, space rafters 12 inches apart for even coverage.
Structural checks are critical. Test the frame’s squareness by measuring diagonals—both should match. Tighten all bolts and screws, ensuring no wobble remains. Reinforce joints with metal brackets if needed. Double-check hardware compatibility with your lumber type to avoid rot or warping.
Pro tip: Refer to your pergola plans for spacing and joint details. A frame built with these steps will support shade cloth, lights, or planters for years. Safety first—wear eye protection when drilling and lifting heavy beams with a helper to avoid strain.
Adding Finishing Touches
Turn your garden pergola into a cozy outdoor spot with some finishing touches. Whether it’s a rustic wooden or a modern pergola, these steps will make it both stylish and useful.
First, protect your pergola. Wood ones need a weatherproof stain or sealant. For pressure-treated wood, use a clear or tinted finish to highlight the grain. Paint can add a bold color, perfect for modern designs. Always seal cut ends to stop moisture damage.
- Wood finishes: Choose from oil-based stains, acrylic paints, or semi-transparent coatings.
- Modern pergola options: Opt for matte black metal finishes or sleek LED strip lighting for contemporary styles.
Bring in plants to connect your pergola with nature. Climbing plants like wisteria or ivy make it look softer. Drapery panels also add privacy. Over 70% of homeowners love this green touch, making their pergola feel like a lush garden.
Lighting makes it great for evening use. String lights or solar lanterns create a cozy feel. 45% of pergola owners prefer durable LED systems. Place lights 6–8 feet high for even light.
These finishing touches increase outdoor use by 40%, studies show. They also boost curb appeal. Whether your pergola is rustic or modern, these details make it a place for gatherings or quiet nights for years.
Maintenance Tips for Your Pergola
Keeping your patio cover in good shape is key to its longevity. Whether it’s custom-made or from a kit, regular maintenance is crucial. It prevents costly repairs and keeps your structure looking great for years.
Regular Inspections: Inspect your pergola every 6 months. Look for loose screws, rust, or soft spots. Fixing small problems early can save your pergola from major damage.
Cleaning and Preservation: Clean wood surfaces twice a year with a soft brush and mild soap. Rinse vinyl or metal pergolas with a hose. Seal wood every 2–3 years to protect it from moisture. Stain natural wood every 2 years to keep the color vibrant and protect it from UV rays.
Seasonal Care:
- Spring: Trim vines to prevent weight and sunlight blockage.
- Summer: Clean gutters to avoid water pooling.
- Fall: Remove leaves and debris to prevent decay.
- Winter: Inspect snow load on metal or vinyl pergolas and clear snow gently.
Wood pergolas can last over 12 years with proper care. Vinyl or metal ones can last 20+ years. By following these tips, you can enjoy your outdoor space without constant maintenance. Small efforts now can save you from big repairs later.
Conclusion: Enjoying Your New Pergola
Now that your pergola is up, it’s ready to be the centerpiece of your backyard. It’s perfect for hosting parties or enjoying peaceful mornings. You can add climbing plants or string lights to make it your own.
Outdoor Living Inspiration
Picture a summer dinner party lit up by solar lights or a cozy winter spot with weather-resistant cushions. Pergolas from Pergola Depot fit any style, from rustic to modern. They come pre-cut for a strong base, and Renson’s brackets support heavy vines.
Change up your space with the seasons: hang gourds in fall or sheer curtains for privacy. The pergola’s design even lets you install solar panels, saving on cooling costs. Plus, adding lighting or planters can make a big difference.
Your pergola turns your yard into a cozy oasis. Its height options fit any space, making it a stylish focal point. With outdoor areas being a top priority for 75% of buyers, your investment will pay off in comfort and appeal. Now, take a moment to enjoy the shade, views, and memories to come.